Hi,
I’m sorry if this is a stupid question, but there’s nothing in the UI that’s helping me understand.
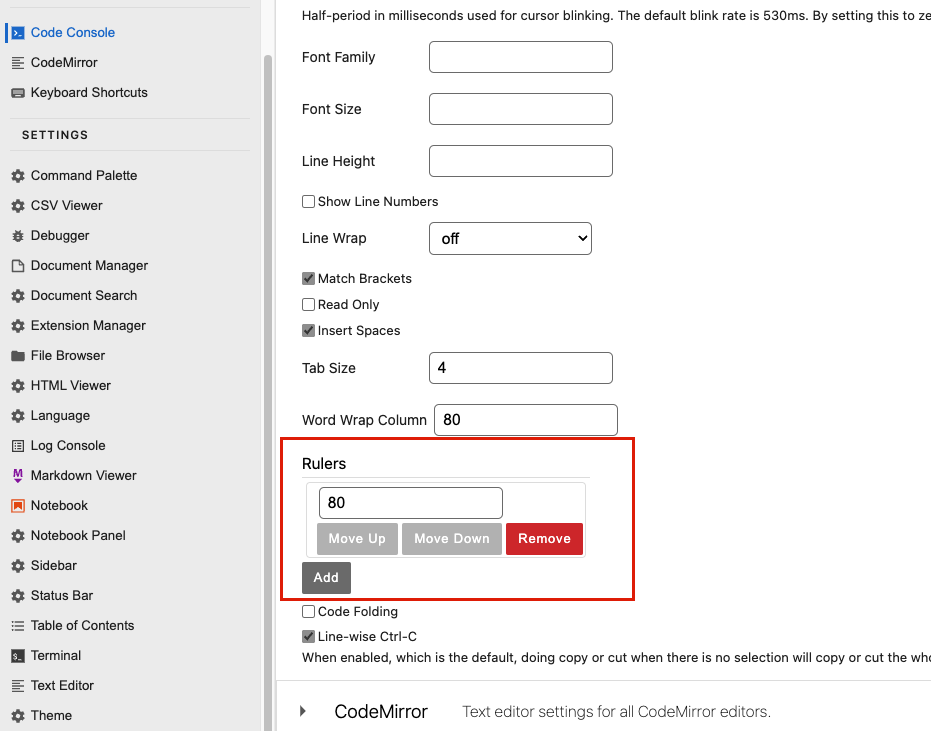
I’ve gone into the advanced settings, and enabled a ruler at character 80:
However, when I go to my documents, there’s nothing there:
(I will put a screenshot in a reply to this post, as I’m only allowed one image per topic)
I have tried restarting jupyter lab, and it’s still not there (the setting change stays though, which seems to indicate that it is being ‘saved’ at least).
Am I misunderstanding the purpose of this setting? Is there something specific I need to do to ‘save’ or ‘publish’ the changes I’ve made to the settings? Any guidance on this would be greatly appreciated.
Also happy to be directed to another answer on here or somewhere in the docs, but I couldn’t find anything.
Thanks
This is what I’m seeing in the actual document:
In your first picture where you are adding the ruler, it shows that you are currently editing the settings for ‘Code Console’. The ‘Code Console’ is what you get if you go to a cell in your notebook, right-click and select ‘New Console for Notebook’ towards the bottom of the menu. (You can get to that option from the main ‘File’ Menu as well when you have a notebook open.)
If you look in the console that comes up then, do you see the ruler?
To add a horizontal ruler line to the code cell in the notebook, select ‘Notebook’ from the Advanced Settings Listing pane. That should then become blue text with the blue bar to the left in that pane like you showed in your first image, but for ‘Notebook’ now.
You should see options to add rulers in three places in that list. ‘Code Cell Configuration’ is the top one. There’s also a similar place for both Markdown cells and for Raw Cells if you scroll down.
I’m trying it now in JupyterLab 3.3.2, launched from here, and I will say adding one of more than a single digit is a little clunky using the new settings wizard UI right now. You have to go back and add the second digit because it kicks you out after the first one, and the up and down arrows didn’t seem to go the direction I expected. Of course, once you add one in you can go to the full settings editor using the ‘JSON Settings Editor’ in the upper right side and then edit by typing as had been the only route until the helper wizard UI was added. However, I was able to add ones at ‘10’ and ‘60’, and then see faint lines in the code cell. I was using light mode to test. They are still pretty faint in dark mode.
(I don’t know if needed to select a non-proportional (monospaced) font family to make the numbers actually match the number of characters displayed.).
I thought it might be something simple like that, the settings pane just has so much in it, I guess I got a bit lost.
But, that did the trick, thanks so much!
1 Like